
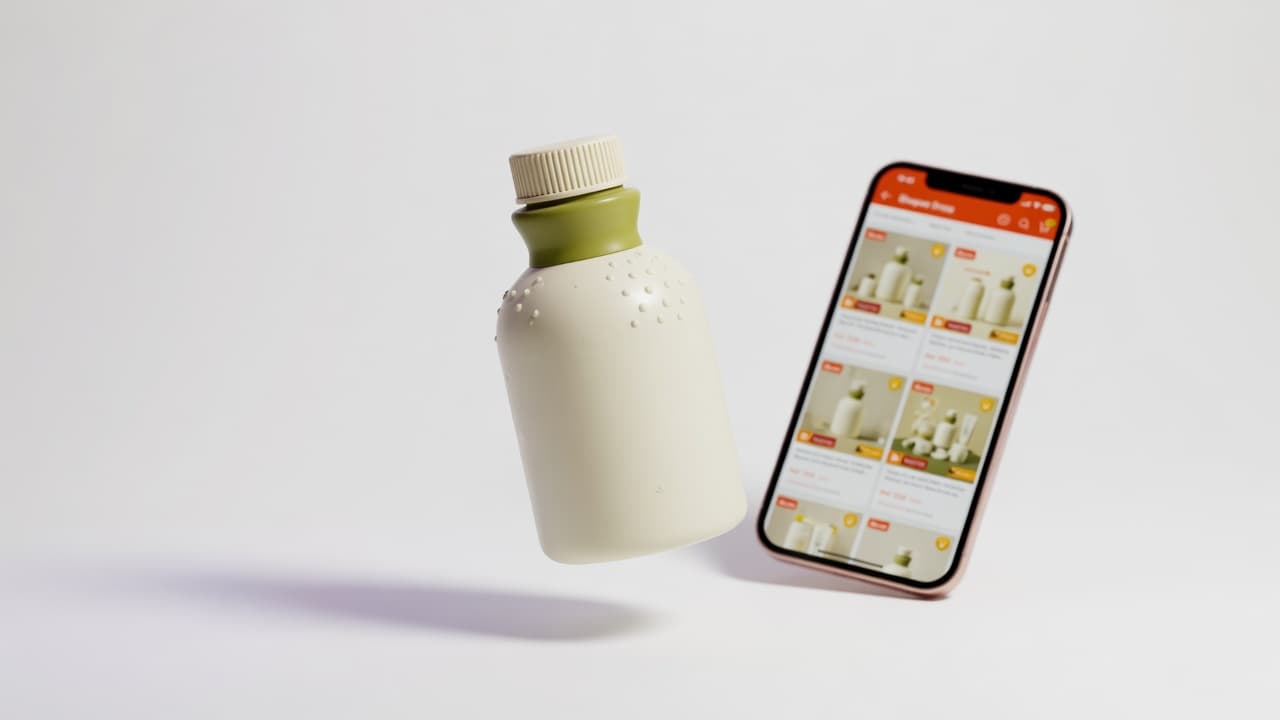
Good product photos sell on Shopee. Bad product photos get your listing buried — or worse, rejected.
Shopee's algorithm favours listings with clean, well-lit images. Buyers scroll fast, and your cover image is the single biggest factor in whether they click your product or the one next to it.
The problem? Professional product photography is expensive. A studio shoot in Kuala Lumpur can cost RM 200–500 per product. For a seller listing 20, 50, or 100 products, that's real money.
AI product photography changes this. You take one photo with your phone, upload it, and the AI generates a clean, professional product image — with proper lighting, background, and composition — in seconds. No studio, no photographer, no editing software.
Here's exactly how to do it.
Shopee Product Image Requirements (2026)
Before you start, know what Shopee requires:
- Format: JPG, JPEG, or PNG
- Cover image ratio: 1:1 (square) — this is the image buyers see in search results
- Display ratio: 3:4 (portrait) — supported for additional images
- Maximum images per listing: 9
- Maximum file size: 2.0 MB per image
- Minimum resolution: 500 × 500 pixels (recommended: 1024 × 1024 or higher)
- Watermarks: Not allowed on the cover image
- Borders/text overlays: Not allowed on the cover image
Step 1: Take a Clear Source Photo
You don't need a DSLR. Your phone camera is enough if you follow these rules:
- Clean background — white or light-coloured wall, a sheet of paper, or any flat surface. Avoid patterned backgrounds.
- Good lighting — natural daylight near a window works best. Avoid harsh direct sunlight (creates harsh shadows). Overcast days or shaded areas give soft, even light.
- Full product visible — make sure the entire product is in the frame. Don't crop off edges.
- Steady shot — rest your phone on a stable surface or use both hands. Blurry photos produce blurry AI output.
- One product per photo — don't photograph multiple products together. The AI works best with a single, clear subject.
Step 2: Upload to an AI Product Photo Tool
Go to SeniAI Seller Studio (or any AI product photography tool).
- Upload your source photo
- Select Shopee as the marketplace — this automatically sets the correct 1:1 ratio
- Choose a scene (clean white background, lifestyle scene, or marketplace-ready setup)
- Click generate
The AI will analyse your product, preserve its shape and colour, and place it in the chosen scene with professional lighting and background.
Step 3: Review the Result
This is the most important step. Before downloading, compare the AI-generated image against your source photo:
- ✅ Product shape preserved — the AI should not change the physical shape of your product
- ✅ Colour accurate — colours should match the real product. If the AI changed the colour, try again or use a different scene
- ✅ No extra elements — the AI should not add objects that weren't in your source photo (unless you chose a lifestyle scene)
- ✅ Clean background — no clutter, no shadows, no distractions
If something looks wrong, generate again. Most tools let you try multiple variations.
Step 4: Download and Upload to Shopee
- Download the image (JPG or PNG, under 2 MB)
- Go to Shopee Seller Centre → Add New Product
- Upload the AI-generated image as your cover image (1:1 ratio)
- Upload additional images for the product gallery (you can generate different scenes/angles)
- Fill in your product title and description
- Publish
Common Mistakes to Avoid
1. Using a misleading image — The AI image should show what the buyer will actually receive. If your product is a plain white t-shirt, don't generate an image showing it in a luxury boutique setting. Buyers will feel deceived and leave bad reviews.
2. Ignoring the cover image — Shopee's search results show the cover image first. A clean, well-lit cover image gets more clicks. A dark, cluttered cover image gets scrolled past.
3. Too many lifestyle images — Use 1-2 lifestyle images and keep the rest as clean product shots. Buyers want to see the product clearly, not just scenes.
4. Low resolution — Always export at 1024×1024 or higher. Low-resolution images look pixelated on mobile (where most Shopee browsing happens).
Cost Comparison: Studio vs AI
| Method | Cost per image | Time per image | Quality |
|---|---|---|---|
| Professional studio | RM 15–50 | 30–60 min | Excellent |
| Phone + AI (free plan) | RM 0 | 2–3 min | Good–Excellent |
| Phone + AI (Pro $10/mo) | ~RM 0.15 | 1–2 min | Excellent |
For a seller listing 20 products with 5 images each (100 images total):
- Studio: RM 1,500–5,000
- AI (free): RM 0 (but limited to 3/day)
- AI (Pro): RM 45/month ($10) for unlimited
Ready to create your first Shopee product photo with AI? Try SeniAI Seller Studio free — no sign-up needed for your first image.